This documentation is intended for industrial engineering students at the Vrije Universiteit Brussel.
Anaconda is data science and machine learning platform for the Python programming language that is used in this documentation. It is designed to make the process of creating and distributing projects simple, stable and reproducible across systems and is available on Linux, Windows, and OSX. Anaconda curates major data science packages for Python. It comes packaged with Anaconda navigator for a GUI experience for managing libraries, Spyder for an Integrated Development Environment (IDE), and much more.
The most recent major version of Python is Python 3, which we shall be using in this documentation. However, Python 2, although not being updated with anything other than security updates, is still quite popular. When installing Anaconda select the latest version of Python 3.
If Anaconda is installed correctly, no additional tweaks are needed throughout this documentation.
To prevent permission errors, do not launch the installer from the Favorites folder. If you encounter issues during installation, temporarily disable your anti-virus software during install, then re-enable it after the installation concludes. If you installed for all users, uninstall Anaconda and re-install it for your user only and try again.
Install Anaconda to a directory path that does not contain spaces or unicode characters. Do not install as Administrator unless admin privileges are required.
If you get the error message “you cannot install Anaconda in this location”, reselect “install for me only”.
Answer the prompts on the introduction, read me and license screens.
Enter the following to install Anaconda for Python 3.7:
bash ~/Downloads/Anaconda3-5.3.0-Linux-x86_64.sh
Include the
bashcommand regardless of whether or not you are using bash shell. If you did not download to your downloads directory, replace~/Downloads/with the path to the file you downloaded. Choose “install Anaconda as a user” unless root privileges are required.
PREFIX=/home/<user>/anaconda3 and continues the installation. It may take a few minutes to complete./home/<user>/.bashrc ?” Enter “yes”.If you enter “No”, you must manually add the path. Otherwise Anaconda will not work.
source ~/.bashrc.anaconda-navigator in a terminal window. If Navigator opens, you have successfully installed Anaconda.If you install multiple versions of Anaconda, the system defaults to the most current version, as long as you haven’t altered the default install path.
Spyder is a scientific environment written in Python, for Python, and designed by and for scientists, engineers and data analysts. It features a combination of the editing, analysis, debugging, and profiling functionality of a comprehensive development tool with the data exploration, interactive execution, deep inspection, and visualization capabilities of a scientific package. Furthermore, Spyder offers built-in integration with many popular scientific packages, including NumPy, SciPy, Pandas, IPython, QtConsole, Matplotlib, SymPy, and more.
Spyder IDE is included in Anaconda.
To create a Project, click the “New Project” entry in the “Projects” menu, choose whether you like to associate a project with an existing directory or make a new one, and enter the project’s name and path:

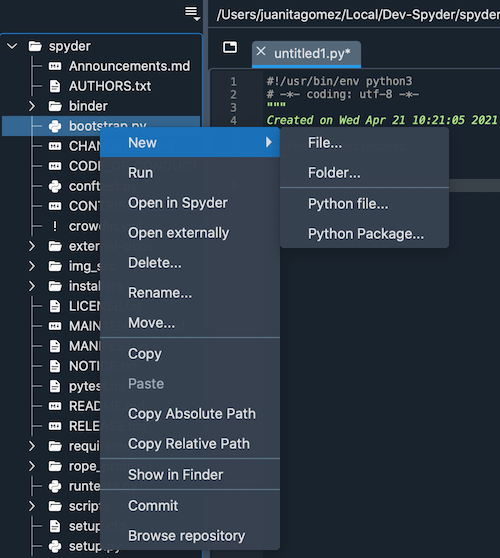
Once a project is opened, the “Project Explorer” pane is shown, presenting a tree view of the current project’s files and directories. This pane allows you to perform all the same operations as a normal file explorer.

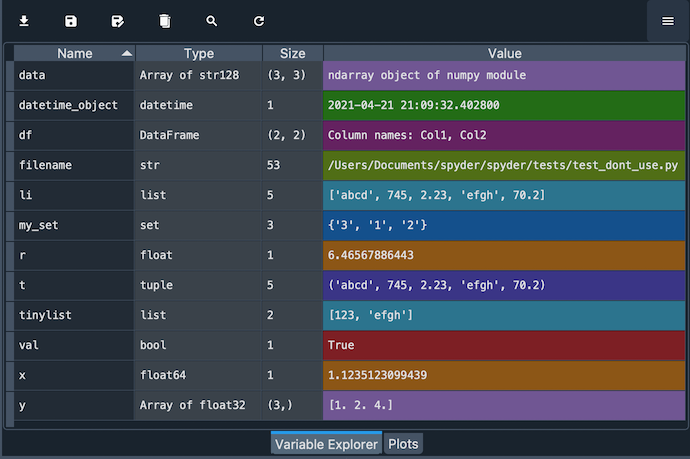
The variable explorer shows the namespace contents (all global object references, such as variables, functions, modules, etc.) of the currently selected session, and allows you to interact with them through a variety of GUI-based editors. For example, variables can be listed as:

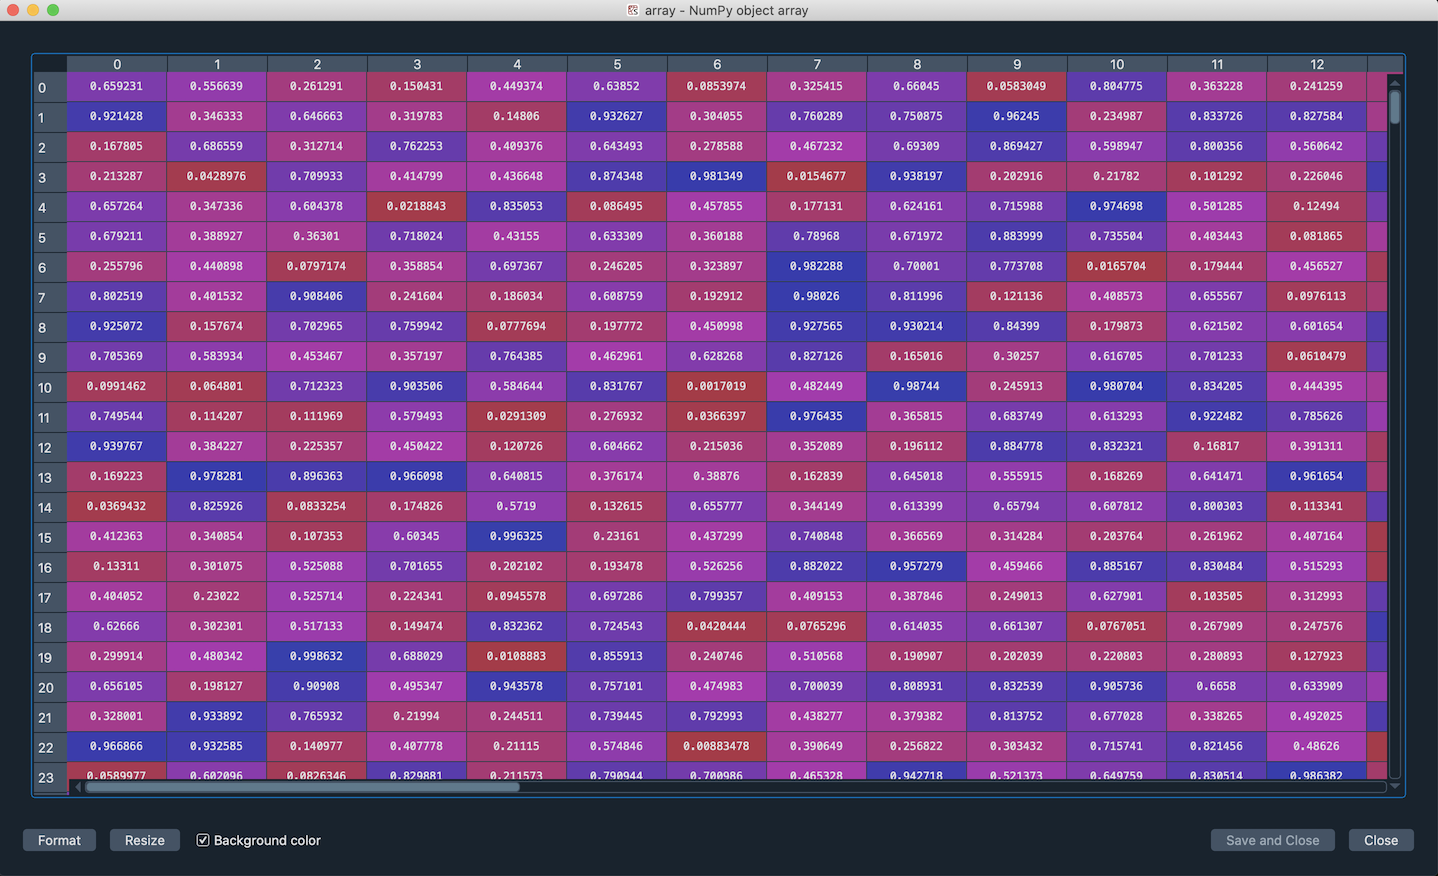
Matrices can be shown as:

The Anaconda installer files are large (over 300 MB), and some users have problems with errors and interrupted downloads when downloading large files.
Download the large Anaconda installer file, and restart it if the download is interrupted or you need to pause it.
After installing on Windows, in the Windows Start menu I cannot see Anaconda prompt, Anaconda Cloud and Navigator shortcuts.
This may be caused by the way Windows updates the Start menu, or by having multiple versions of Python installed, where they are interfering with one another. Existing Python installations, installations of Python modules in global locations, or libraries that have the same names as Anaconda libraries can all prevent Anaconda from working properly.
If start menu shortcuts are missing, try rebooting your computer or restarting Windows Explorer.
If that doesn’t work, clear $PYTHONPATH and re-install Anaconda. Other potential solutions are covered in the “Conflicts with system state” section of this blog post.
During installation on a Windows system, a dialog box appears that says “Failed to create Anaconda menus, Abort Retry Ignore” or “Failed to add Anaconda to the system PATH.” There are many possible Windows causes for this.
Try these solutions, in order:
Problems with the PATH environment variable can cause “conda: command not found” errors or a failure to load the correct versions of python.
.bashrc file, add a line to add that location to your PATH.E.g. a user with the user name “bob” on a Linux machine whose Anaconda binary directory is ~/anaconda would add this line to the .bashrc file:
export PATH="/home/bob/anaconda/bin:$PATH"
This may be caused by errors in the Spyder setting and configuration files.
Spyder..spyder2 and then repeat the previous steps from Step 1. Depending on your version of Windows, .spyder2 may be in C:\Documents and Settings\Your_User_Name or in C:\Users\Your_User_Name.Replace
Your_User_Name, with your Windows user name as it appears in the Documents and Settings folder.
On the Navigator Environments tab, the packages table in the right column lists the packages included in the environment selected in the left column.
Packages are managed separately for each environment. Changes you make to packages only apply to the active environment.
Click a column heading in the table to sort the table by package name, description, or version.

The Update Index button updates the packages table with all packages that are available in any of the enabled channels.
By default, only Installed packages are shown in the packages table. To filter the table to show different packages, click the arrow next to Installed, then select which packages to display: Installed, Not Installed, Upgradable or All.
Selecting the Upgradable filter lists packages that are installed and have upgrades available.
In the Search Packages box, type the name of the package.
Only packages that are compatible with your current environment are listed.
Select the name of the package you want to install, or in the Version column, click the blue up arrow.
Click the Apply button.
If after installing a new package it doesn’t appear in the packages table, select the Home tab, then click the Refresh button to reload the packages table.
Select the Upgradable filter to list all installed packages that have upgrades available.
Click the checkbox next to the package you want to upgrade, then in the menu that appears select Mark for Upgrade.
OR
In the Version column, click the blue up arrow.
Click the Apply button.
Click the checkbox next to the package whose version you want to change.
In the menu that appears, select Mark for specific version installation. If other versions are available for this package, they are displayed in a list.
Click the package version you want to install.
Click the Apply button.